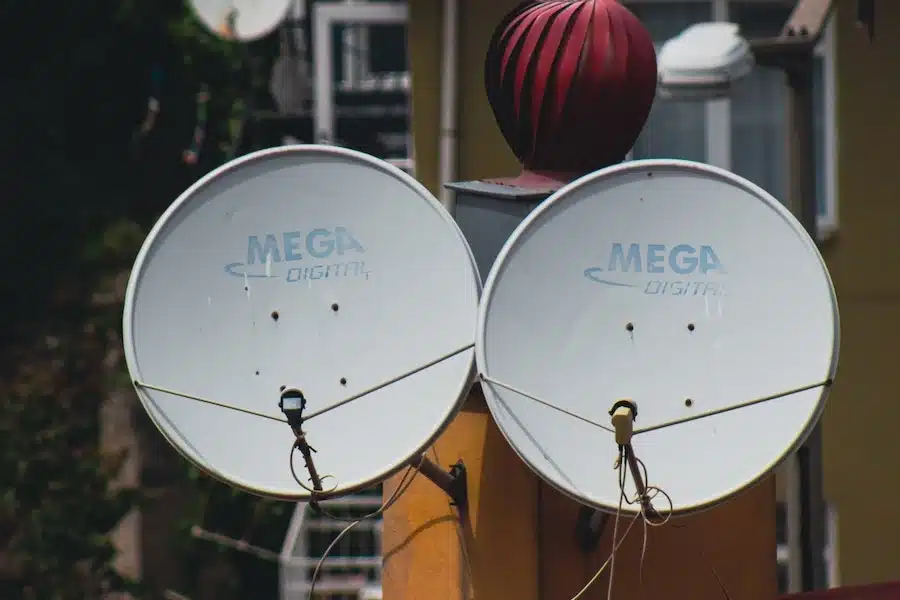
Most commonly, satellite dishes are fitted at quite a height, meaning it can be tricky to instal your own satellite dish. Despite this, homeowners won’t require PASMA training in Newcastle or their local area to fit a satellite dish so long as they carry out safe practices. Listed below are the steps involved in fitting a satellite dish safely and securely.
Select A Receiver
Firstly, different receivers will require different installation processes. For instance, single set-top boxes require a single cable that runs from the satellite to the receiver. On the other hand, recorders will require two cables since twin tuners are needed to watch one channel while another is being recorded.
A multi-output LNB is a sensible choice, as this facilitates the addition of a tuner or recorder further down the line. This sits on the end of the dish’s arm, which is the receiver of the signal.
Prepare The Cable
A satellite-grade cable will be required, as well as a pair of F connectors. Similarly, the cable must be prepared, which is carried out in the following way:
- The outer insulation is stripped back by roughly 1.5cm.
- Roughly 1cm is trimmed off the inner insulation.
- The copper braid is folded back over the outer insulation.
- The F connector is affixed by pushing it over the end of a cable and screwing it on.
- A connector is put on the end of the cable closest to the receiver.
Assemble The Dish
Your satellite dish will come with instructions on how to assemble it. Follow these closely.
Select a Mount
There are various mounts to choose from, including the following:
- A patio or garden stand
- A mount that’s far from the wall
- A mount that’s close to the wall
Above all, the satellite needs to be able to see the right part of the sky.
Mount The Dish
Mounting a satellite dish involves the following:
- Selecting a wall that enables the dish to be fixed and moved from side to side.
- Aligning the bracket vertically.
- Mounting the dish to the bracket via a hinge.
- Adjusting the pole appropriately and securing it tightly.
Decide On Its Positioning
After the dish has been mounted, the longitude and latitude also have to be determined. This is achieved via the following:
- Entering your postcode into Street Map to find the precise coordinates.
- Inserting these coordinates into Satellite Signals to determine where the dish should be pointed.
- Using the information provided to rotate and angle the dish accordingly.
Elevate The Dish
After the position of the dish has been determined, it needs to be elevated. This involves the following:
- Mounting the dish on the pole and tightening the bolts accordingly.
- Setting the elevation.
- Rotating the dial.
- Rotating the compass.
- Pointing your satellite dish in the correct direction.
Connect The Dish
Once the dish has been properly aligned, it needs to be connected to the receiver; this is carried out as follows:
- Drilling through the wall nearest the bracket at an angle.
- Feeding the cable through the hole.
- Cutting off a short piece and fitting the F connector to the end that leads to the receiver.
Find The Satellite
A satellite finder can be extremely handy for this, as it whistles upon receiving signal from the LNB. In order to find the satellite, the following steps are employed:
- Connecting the receiver to the socket and linking the cables.
- Turning on the receiver and adjusting the dial on the finder until it reaches five.
- Moving the dish to find the strongest signal.
- Setting up the screens on the receiver.
Following each of the steps, you should be able to tune into the satellite.


